
Growing peppers indoors can be an extremely satisfying and rewarding hobby. Not only will you be able to learn about the different varieties and flavors, but you can always count on a delicious pepper to add to your recipes. While pepper plants are relatively undemanding, there are specific guidelines that you must follow to ensure that your plants will grow and thrive indoors.
To grow pepper plants indoors, plant seeds in a starter tray and keep them in a warm, dark spot. After the seedlings sprout, move them into pots and keep them in an area that receives 10 hours of daily light and has an average temperature of 75°F. You can expect the plant to fruit in 60-90 days.
Growing peppers is something that can be enjoyed by expert gardeners and first-time growers alike. Find out how below!

Things to Know Before Growing Peppers Indoors
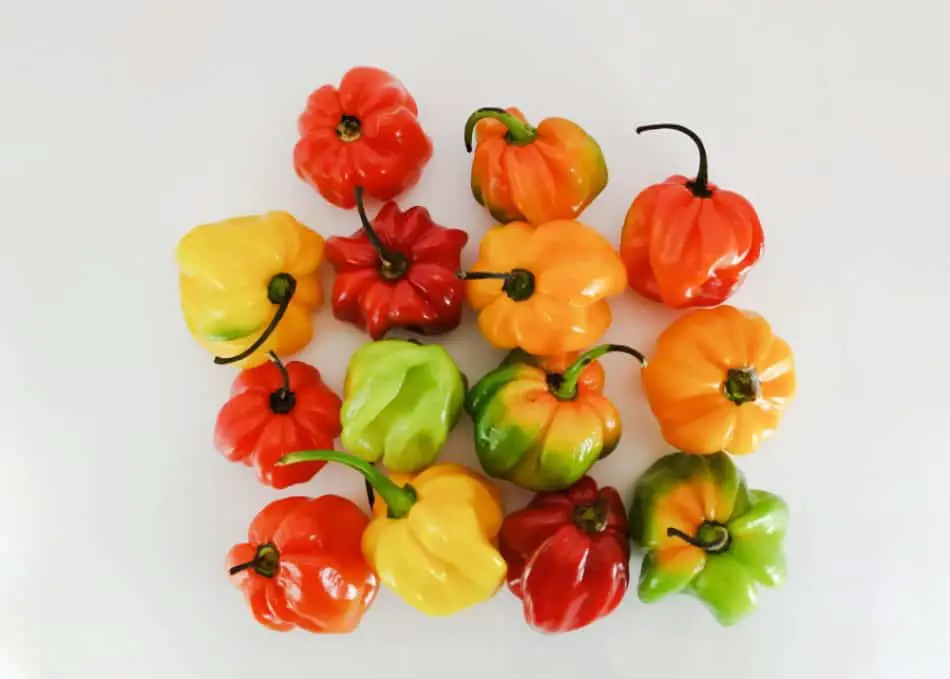
Growing chilies indoors is something that appeals to many folks. These plants have attractive flowers and bright fruits that will add color to your indoor garden. If you love cooking and experimenting with new recipes, growing chilies is an excellent way to use fresh, homegrown produce in your dishes.
Picking the right variety of pepper plant that will thrive in your home is crucial. One of the biggest challenges that cultivators encounter when growing chili pepper plants is that the required environmental conditions are not always available at home.
Generally, chili peppers require elevated temperatures, between 75 – 90 degrees Fahrenheit, and prolonged exposure to light to thrive. These conditions are not always available in our homes, which is why it is important to pick chili pepper seeds that are compatible with your home’s environment.
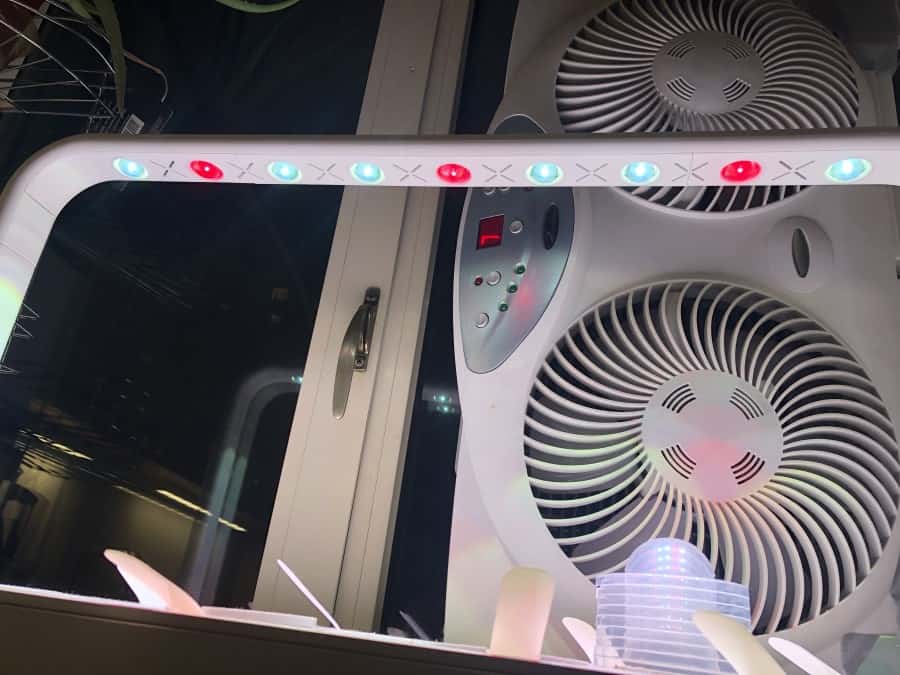
If the ideal conditions are not available in your home, fear not, you can supplement your home’s environmental shortcomings with:
- Grow lights
- Heating pads
- Indoor greenhouse
Which Types of Peppers Grow Best Indoors?

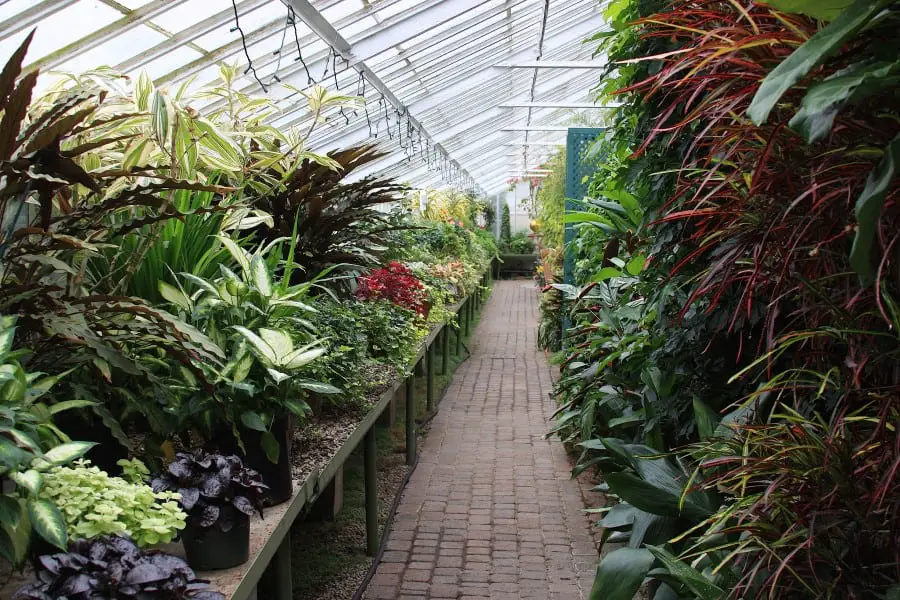
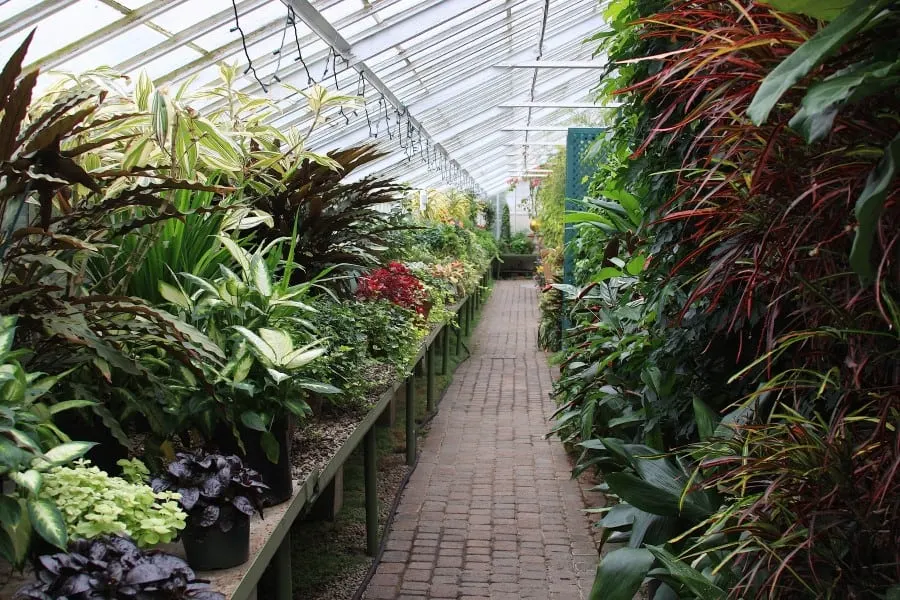
When growing pepper plants indoors you should focus on smaller varieties that will not grow higher than 31 inches (80 cms). The smaller varieties tend to adapt better to indoors because they require less space. If you have a solarium or greenhouse, however, you might be able to grow larger varieties.
Below you can find some of the pepper varieties that adapt best to life indoors, listed by their level of spiciness, measured by Scoville heat units (SHU), from medium to hot.
Medium to Hot Pepper Varieties for Growing Indoors
Aji Mirasol
These are among the least demanding varieties of pepper plants and do not grow taller than 23 inches (60 cms) on average. The plant will grow upwards and towards the light. You can expect some sharp spiciness from these chilies, but the spice level is not overwhelming.
Scoville: 30,0000 – 50,000 SHU
Flavor: Sweet, fruity, tropical, bright
Cayenne
Cayenne peppers are arguably one of the most versatile varieties that are enjoyed by almost everyone. They are not overly spicy and will suit almost all your dishes. The pods taste great, both fresh and dried.
Scoville: 30,000 to 50,000 SHU
Flavor: Delicate, versatile
Etna
Etna chilies are perfect for indoor cultivation because of their compact footprint when growing. You can expect bright red chilies that will remain upright when fruiting.
Scoville: 65,000 SHU
Flavor: Fruity, delicate
Spicy Pepper Varieties for Growing Indoors
Prairie Fire
Prairie Fire chilies are one of the best pepper varieties to grow indoors. These chilies are known for the beautiful and colorful pods that will brighten the plant once the fruit grows. You will notice that the pepper pods appear in different colors on the plant, from yellow to purple.
Scoville: 70,000 to 80,000 SHU
Flavor: Tangy, fruity
Apache Chili
This type of chili is a great option if you are looking for a variety that will not take too much space in your home. While it is a small plant, it will produce several chilis and require minimal pruning to remain in shape.
Scoville: 80,000 to 100,000 SHU
Flavor: Sweet
Habanero Cristina
Habanero chilies are known to be among the spiciest varieties, but you will be surprised by these. The chilies might seem small at first, and their cream color can deceive folks into thinking they are not spicy. However, these mini Habaneros can truly light up any dish.
Scoville: 100,000 to 150,000 SHU
Flavor: Tropical, sweet, smokey
A Step-by-Step Guide to Growing Peppers Indoors
Now that you have picked the variety of pepper you are going to grow it is time to get the seeds and plant your peppers.
Pick and Prepare Your Pot or Starter Cell
First, you will need to start by preparing the seed starter cell, or, if you are only planting a few seeds, you might opt for just a small pot.
To prepare your soil, put the required amount of soil into a big container and add a small amount of water and mix the soil around with your hands until the soil mix is fully moistened, but not wet. Pack the starter cells or small pot with the moistened soil until it hits the top.
When picking the soil to fill your seed starter cells, make sure you choose a soil-based compost that is extremely rich in nutrients. It should also contain vermiculite or perlite because these compounds can promote proper soil drainage.
Plant and Water the Seeds
Now that your pot and soil is ready, it is time to plant the seeds. Sprinkle some of the chili seeds in the pot and poke them down into the soil about a quarter of an inch with the end of a pen or toothpick. You should have around two to three seeds in each starter cell or small pot.
Planting multiple seeds in each starter cell or small pot is necessary to ensure that at least one of them will germinate and sprout.
Cover the Pot and Place it in a Warm, Dark Place
Once you have placed the seeds in a pot or starter cells, you can sprinkle or spray them with water. This strategy is important to ensure that the soil enters in contact with the seed and promotes its germination while remaining moist and well-drained.
Once ready, cover the seed starter with plastic foil or a plastic bag. While this is not strictly necessary, it will help you naturally regulate the seed environment’s temperature and moisture level.
If you are not an expert gardener, this strategy can also help you reduce the number of times you will need to water the seeds during the germination period. During this period, your seedlings will be at their most vulnerable. So, promoting the natural environment without interference can help.
During the seed germination period your plants will not need light, so you should expose the starter cells to minimal light until the seeds have sprouted.
At the same time, the soil temperature should always remain around 70 – 90 degrees Fahrenheit. We highly recommend using an electric heating pad to achieve this temperature range. It will dramatically improve the seed viability rate of your pepper seeds. Here is the heating pad I personally recommend using.
Once the Seeds Sprout Move Them to a Warm and Well-Lit Place
Your seeds will need to remain in darkness during the germination period, which will last 7 to 10 days, and sometimes even three weeks, depending on the seed variety.
Once the seeds have started to sprout, you can remove the plastic cover or bag and move the pot to a brighter spot, such as a windowsill. During their growing phase, pepper plants will require between 10 to 12 hours of indirect light to thrive.
It is crucial to pick a room in your home that receives a significant amount of sunshine. If such a location is not available to you, you might decide to use a bright LED light to help you in the process.
Assess and Trim the Seedlings
Over the next few weeks, you will be able to notice your plants growing and becoming stronger. The timing of this process will vary depending on the variety of pepper you have picked. Before continuing with the instructions below, wait for your seedlings to develop at least two sets of leaves.
At this stage, you might decide to cut off the weaker seedlings. You can identify them by checking the quality of the leaves, stalks, and stems. Then, you can remove the more fragile seedlings by pulling them with your fingers or using shears.
Alternatively, you might separate the two plants and plant the second one in a new pot. This separation process (thinning out) is necessary for each of the plants to have the nutrients it needs to thrive—without affecting nearby plants.
Re-plant in a Larger Pot
Usually, you will need to re-pot your chili pepper plants every time it outgrows its pot. When attempting the first transplant, pick a pot around 3 inches wide (7.6 cms), fill it with 2 inches (5 cms) of rich pepper-plant-appropriate soil, and add some compost for added nutrients.
Once the new pot is ready, you can remove the seedling from its current container. Do so by placing a hand over the seedling’s base and turn the pot over. When doing so, gently pull the root ball out of the starter cell or smaller pot.
You can then insert the root ball into the new container and cover it with enough soil to completely bury the root ball.
Keep the Pepper Plant in a Warm and Sunny Spot (It’s an important step, so worth repeating!)
Once the pepper plant is in its new container, it is crucial to keep it in a warm and well-lit location. If you are unsure about what constitutes a suitable place, think about chili peppers’ natural conditions. Many peppers originate from an environment that has temperatures averaging around 80 and 70 degrees Fahrenheit (27 and 21 degrees Celsius) at nighttime.
If your house is not warm enough, you might consider moving the plant into an indoor greenhouse or placing it on a heating mat.
Once your plant is growing and you have found a location where it can thrive, follow the instructions below to maintain a healthy environment for your plant.
What Equipment and Supplies are Needed to Grow Pepper Plants Indoors?
If you have already been growing herbs and plants at home, you will likely not need much more than the seeds and a starter cell. However, if this is your first time attempting to grow indoor plants, you might consider investing in composite-based soil and shears.
Here is an overview of what you will need to successfully grow your chili peppers indoors:
- A starter cell/tray or small pot
- A larger pot
- Shears
- Soil and compost
- Plastic foil, a plastic bag, or the bottom of a plastic water bottle
- Fertilizer
- A heated mini greenhouse or heated mat
How to Find the Ideal Spot to Grow Peppers Indoors
Finding the ideal spot to grow your peppers indoors is not always easy. Even your best lit window might not offer enough warmth and sunlight for your plant to thrive.
If the days are much warmer and brighter during the summer months, you might decide to wait until then before planting your seeds. If the area where you live is not subject to extreme temperature changes, you might consider using the warmest spot in your home.
For example, a bright, south-facing window in your home can be the perfect location for your plant.
Generally, you will need a place that:
- Offers your plant at least 12 hours of sunlight during the first weeks of growth, and then 10 hours per day until fruiting
- Allows you to introduce a small lighting system for your plant in the eventuality that the days become shorter and cooler
- Is warm enough for the plant to thrive
- Provides your plant with the right humidity level (learn about this in the section below)
What Is the Ideal Temperature and Humidity Range to Grow Peppers Indoors?
Generally, your pepper plant will need high temperatures throughout its life to thrive. If you live in a climate zone that boasts elevated temperatures for several months a year, you can just place your plant on a windowsill so it can enjoy the natural warmth and light.
However, if your area’s temperatures are never high enough, you should consider using a heated mat or mini greenhouse.
While you should keep your plant warm, the temperature at which to keep it will vary depending on the life stage it is at. You can refer to the guidelines below:
- 70 to 90 degrees Fahrenheit (21 to 32 degrees Celsius) during germination
- 70 to 85 degrees Fahrenheit (21 to 29 degrees Celsius) during growth and fruiting
In terms of humidity levels, the ideal range of moisture for pepper plants is between 50 and 70 percent. While this level will always need to remain above 50 percent, the actual humidity level required for the plant to thrive depends on the pepper variety. For example, Capsicum Chinese peppers will require high levels of moisture.
If your home does not naturally boast such high levels of humidity, you might consider one of the tips below:
- Use room fountains or water bowls
- If your bathroom is well-lit, keep the plant in the bathroom
- Put a water bowl on the radiator
- Use a humidifier
- Place several plants close to each other, so they can regulate their environment
- Create a humidity tray
It is crucial to ensure that the humidity level adapts to the plant’s specific requirements. While chili peppers are not too difficult to cultivate, they will not be able to grow in an environment that is too dry.
At the same time, it is crucial to monitor the humidity level in the air: if the humidity levels are too high, the plant can develop bacteria, fungi, and other diseases.
How Many Years Will an Indoor Pepper Plant Live?
Chili pepper plants can live indoors for around five to seven years, if maintained well.
Of course, this can depend on the variety of pepper picked, as well as the care you supply your plant with. The environment the plant lives in can also have a significant effect on its lifespan.
Closing Thoughts
Growing chili peppers indoors is a fun activity for both expert gardeners and first-time cultivators. Pepper plants are relatively undemanding but make sure to give your indoor plant the right temperature, light exposure, and humidity level and it will provide you years of delicious peppers.
Here are Some of my Favorite Gardening Products and Tools
Thank you for reading this article. I hope you found it helpful for growing some new plants in your home or garden. Here are some products I like that I hope you’ll also find helpful. These are affiliate links, and I am compensated for referring traffic. But in all honesty, these are the exact product that I use or recommend to everyone.
Soil: For high-quality soil, I really like Fox Farm Ocean Forest. I do all my growing in containers and this soil has worked great for me. I like how they use nutrient-rich contents like earthworm castings, bat guano, and composted crab and fish.
Fertilizer: Currently I am using a seaweed-based organic fertilizer call Neptunes Harvest. This is a great milder fertilizer option if you want to use something organic. If you want a more powerful fertilizer, I recommend Fox Farm Liquid Nutrient Trio, lots of people have had great growing success with this product.
Pruning Shears: Pruning shears are one of the most useful gardening tools to have because it’s important to prune your plants to keep them healthy. The pruning shears I recommend are the Gonicc 8’’ pruning shears. I like them because they are built sturdy and work both on bigger and smaller plants, so you don’t need to have multiple pruning shears.
spicytrio.com is a participant in the Amazon Services LLC Associates Program, an affiliate advertising program designed to provide a means for sites to earn advertising fees by advertising and linking to Amazon.com. spicytrio.com also participates in affiliate programs with other sites. spicytrio.com is compensated for referring traffic and business to these companies.