
The humidity in a grow tent can influence the health of your indoor plants. You must always maintain the right amount of moisture in the tent because if it gets too high, it can cause the crops to wilt, or worse, grow mold and rot.
Here are 11 tips for lowering the humidity in a grow tent:
- Reduce the number of plants in the tent.
- Avoid overwatering the plants.
- Buy a dehumidifier for the grow tent.
- Install an air conditioner.
- Add more exhaust fans to the tent.
- Improve ventilation.
- Maintain the correct temperature with a hygrometer and thermometer.
- Use water-absorbent soil
- Regulate how long your grow lights are on
- Trim the plant leaves.
- Drain stagnant water.
Read on to learn how to reduce the humidity in your grow tent and enable your plants to grow properly.

As an Amazon Associate, I earn from qualifying purchases.
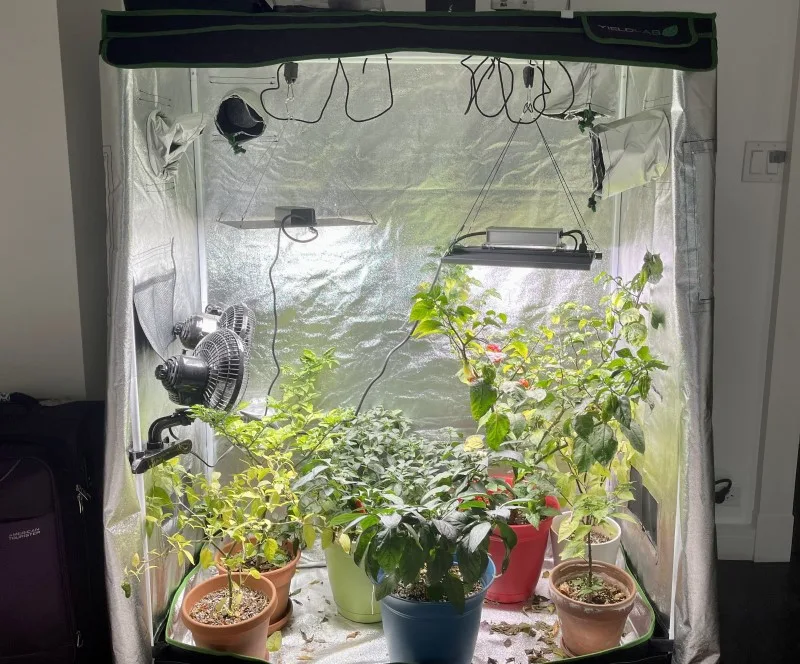
1. Reduce the Number of Plants in the Tent
If the grow tent is overcrowded with plants, it can cause them to increase the humidity level because of the water vapor they release through transpiration.
Plants release moisture and oxygen into the air through transpiration. Plants obtain moisture via their root systems from the soil; the water travels up the stem and into the leaves. When transpiration occurs, the water is released into the air, causing it to become more humid.
Transpiration will likely not have a significant effect if only a few plants are in the grow tent. However, when there are large numbers, transpiration can create a noticeable surge in humidity levels.
You can mitigate this by limiting the number of plants in your grow tent. Check out our post on how many plants can be grown in a grow tent to learn more.
2. Avoid Overwatering the Plants
You may think that overwatering the plants can help them grow faster, but it can raise the humidity in the grow tent and cause other issues.
There is a limit to how much water the soil can absorb for the plants. Overwatering will result in excess water accumulating in the pot trays, leading to increases in the tent’s humidity levels.
To prevent overwatering, give your plants the same amount of water each watering and be consistent with the timing of watering the plants. It’s also best practice to only water plants when they need it. One way to check is by using your index finger and checking the soil’s dampness before deciding whether to water your plant or not.
3. Buy a Dehumidifier for the Grow Tent
A dehumidifier will draw excess moisture from the room and release dry air back. This device keeps the water it collects in a container that you must empty when it fills up.
A good quality dehumidifier can remove as much water as your crops absorb to ensure the plants grow and offer good yields. The VIVOSUN Small Space Mini Dehumidifier for Grow Tents (available on Amazon.com) works really well. Alternatively, the Pro Breeze mini dehumidifier (also available on Amazon.com), is portable, has an auto shut-off, and can suit small indoor gardens.
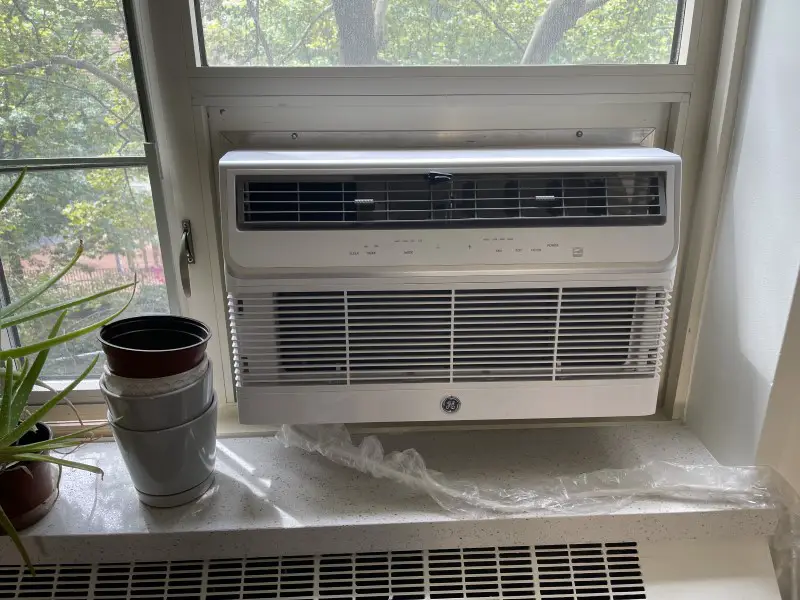

4. Install an Air Conditioner
Instead of a dehumidifier, you may prefer to use an air conditioner to cool the air and, as a result, lower the humidity.
Choose an adequately sized air conditioner for the room you keep your grow tent in because a smaller one might struggle to efficiently cool the temperature.
Large air conditioners can effectively decrease the humidity levels in a grow tent but using one that is too large may consume excessive amounts of electricity.
The right air conditioner will continuously replace hot air with cold air. All you have to do is regularly clean the filters to prevent them from clogging, which can lead to higher humidity due to airflow restriction.
5. Add More Exhaust Fans to the Tent
Adding more exhaust fans to the grow tent can help decrease humidity by ensuring that cool air circulates throughout. Exhaust fans can also push warm air out through the vents.
Consider adding an atmospheric controller to the room to get the right fan speed for keeping the humidity down. It will monitor the environment and automatically regulate the rate at which the fans move to keep the room at your desired temperature and humidity.
6. Improve Ventilation
Adding additional vents or air holes to your grow tent can help improve the ventilation, allowing cooler, fresh air from outside to lower the temperature while the fans blow out the warm air.
With improved ventilation, the airflow in the room will increase, and the humidity levels will drop accordingly. Consider keeping your grow tent’s doors open, as well as any other flaps.
7. Maintain the Correct Temperature with a Thermometer and Hygrometer
The temperature level in the grow tent can affect the humidity. When the temperature rises, transpiration will also increase, and plants will start releasing more moisture into the air. Allowing the humidity to remain high for an extended period can rot the roots and destroy the plants.
A humid environment can also become a breeding ground for pests and diseases that can harm your plants.
Using a thermometer and hygrometer to monitor the temperature and lower it with exhaust fans or an air conditioner, when necessary, can help to ensure that the humidity remains low.
We use the VIVOSUN Indoor Thermometer in our grow tent.
8. Use Water Absorbent Soil
Consider using a potting mix with perlite or vermiculite as these substances allow water to permeate the soil quickly and through the drain hole to the saucer underneath. Most plants require loamy, well-draining soil, to thrive.
9. Regulate how Long your Grow Lights are on
The lights in your grow tent are vital for simulating natural sunlight and helping the plants carry out photosynthesis, which enables them to grow properly. They also produce heat that the plants require to develop and provide good yields.
However, since it’s crucial to maintain the correct temperature to suit your plants’ needs, you should switch off some of these lights when the heat in the grow tent gets too high. Keeping the lights on for too many hours promotes transpiration and higher humidity levels.
If your grow light system is adjustable, dim and brighten them depending on the conditions in the tent. We recommend the VIPARSPECTRA P1500 LED Grow Light, this is one we use in our grow tent. This grow light has adjustable light intensity levels, which can help regulate the heat levels. We also recommend using a plug-in timer to turn the grow lights off automatically after your plants get enough light. We use the BN-LINK 24 Hour Plug-in Mechanical Timer which has worked great and has helped us perfectly regulate the temperature and light intensity in our grow tent.
10. Trim the Plant Leaves
Remove leaves from leafy plants or those with big leaves since a lot of moisture can transpire from them and increase the humidity in the grow tent.
Defoliating the plants will help you keep the humidity levels within the desired range cheaply and simply. Remember that trimming the plant will stimulate faster growth, so light pruning is the way to go if you’re trying to reduce how much moisture your plants release into the air.
11. Drain Stagnant Water
Draining stagnant water is another budget-friendly method that you can use to lower the humidity in your grow tent. Stagnant water can pool in your plant pot saucers. After watering your plants, drain the saucers if you need to remove excess moisture from the grow tent.